
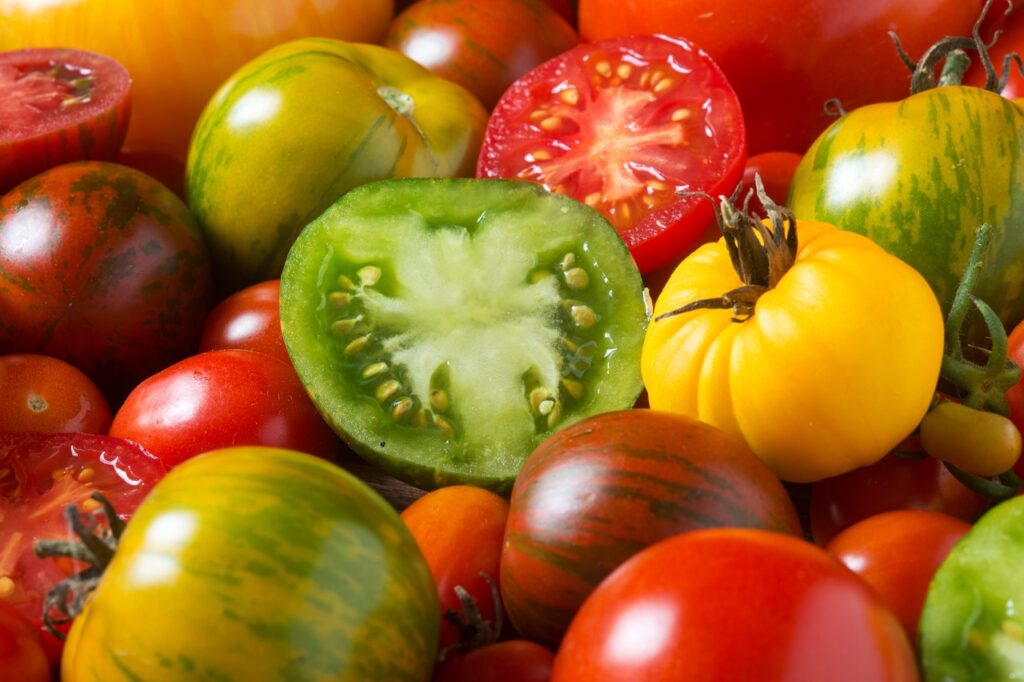
Seed saving is a rewarding, sustainable way to grow your own plants year after year without buying new seeds. By harvesting seeds from your favourite veggies, herbs, and flowers, you can create a self-sufficient garden, cultivate varieties that thrive in your climate, and even share seeds with friends. Here’s everything you need to know to start saving seeds like a pro.
1. Choose the Right Plants for Seed Saving
Some plants are better suited to seed saving than others. Here are a few ideal choices for beginners:
- Tomatoes – Great for beginners; save seeds from open-pollinated or heirloom varieties.
- Peppers – Easy to collect and store; look for fully ripened peppers.
- Peas & Beans – Self-pollinating, making it easy to maintain pure varieties.
- Lettuces – Let one or two plants flower, then collect seeds as they dry.
- Herbs – Basil, coriander, and dill are easy and self-seed readily.
Tip: Choose open-pollinated or heirloom varieties rather than hybrids, as hybrid plants may not produce true-to-type offspring.
2. Harvest Seeds at the Right Time
Seeds need to mature fully on the plant to be viable. Here’s how to tell when seeds are ready:
- Tomatoes & Peppers: Pick fruits when fully ripe and extract seeds from the pulp.
- Peas & Beans: Allow pods to dry out completely on the plant until they’re brown and brittle.
- Lettuce & Herbs: Wait for flowers to turn into seed heads and dry out, then collect them.
Tip: Avoid harvesting seeds on damp or rainy days to prevent mould.
3. Extract & Clean the Seeds
Proper cleaning ensures better germination and reduces the risk of mould. Here’s how to clean seeds based on type:
- Wet Seeds (Tomatoes, Cucumbers): Scoop seeds into a jar, cover with water, and let them sit for a few days to ferment. After 2-3 days, rinse thoroughly, removing any floating debris, and spread seeds on a paper towel to dry.
- Dry Seeds (Peas, Beans, Herbs): Simply remove seeds from the pods or flower heads and shake off any excess debris.
4. Dry the Seeds Completely
Drying seeds thoroughly prevents them from moulding in storage. Place cleaned seeds on a plate, paper towel, or screen in a warm, dry spot out of direct sunlight.
- Air Drying: Leave seeds out for 1-2 weeks, turning occasionally for even drying.
- Test for Dryness: Seeds should be hard and brittle, not bendable or squishy. Larger seeds, like beans, may need extra drying time.
5. Label and Store Seeds
Proper storage keeps seeds viable and organised until planting season.
- Label Each Packet: Note the plant type, variety, and collection date.
- Storage Containers: Store seeds in paper envelopes, small glass jars, or resealable bags. Keep similar seeds together in a larger container or box for easy access.
- Cool, Dark Storage: Store seeds in a cool, dark, and dry place. A drawer, cupboard, or even the fridge works well for long-term storage.
6. Test Seed Viability
If you’re saving seeds over multiple seasons, a viability test helps ensure they’re still good for planting.
- How-To: Place a few seeds on a damp paper towel, fold it, and place it in a plastic bag. Check after a week or two to see how many have sprouted. A germination rate of 70% or higher means the seeds are still viable.
7. Save & Share Seeds with Others
Seed saving connects you to a larger gardening community. Swapping seeds is a fun way to diversify your garden.
- Organise a Seed Swap: Share extra seeds with friends or attend local seed swap events.
- Community Gardens: Many community gardens hold seed exchange events, offering an opportunity to meet other gardeners and discover new varieties.
8. Know Which Seeds Last the Longest
Some seeds remain viable longer than others. Here’s a quick guide:
- 1-2 Years: Parsley, sweetcorn, onions
- 3-4 Years: Lettuce, carrots, peas, beans
- 5+ Years: Tomatoes, cucumbers, melons
Tip: While many seeds can last for years, fresher seeds typically have higher germination rates.
9. Start Small and Experiment
If you’re new to seed saving, start with just one or two plants. Experiment with a mix of herbs, veggies, and flowers to learn what works best in your garden.
10. Enjoy the Benefits of Seed Saving
Not only does seed saving save money, but it also supports biodiversity, reduces waste, and allows you to grow plants adapted to your local environment. Every season you save seeds, you’ll see your garden evolve and become more resilient.
With a bit of patience and care, seed saving becomes a rewarding part of gardening, allowing you to grow healthy, productive plants while preserving nature’s diversity. Happy seed saving! 🌱💧