
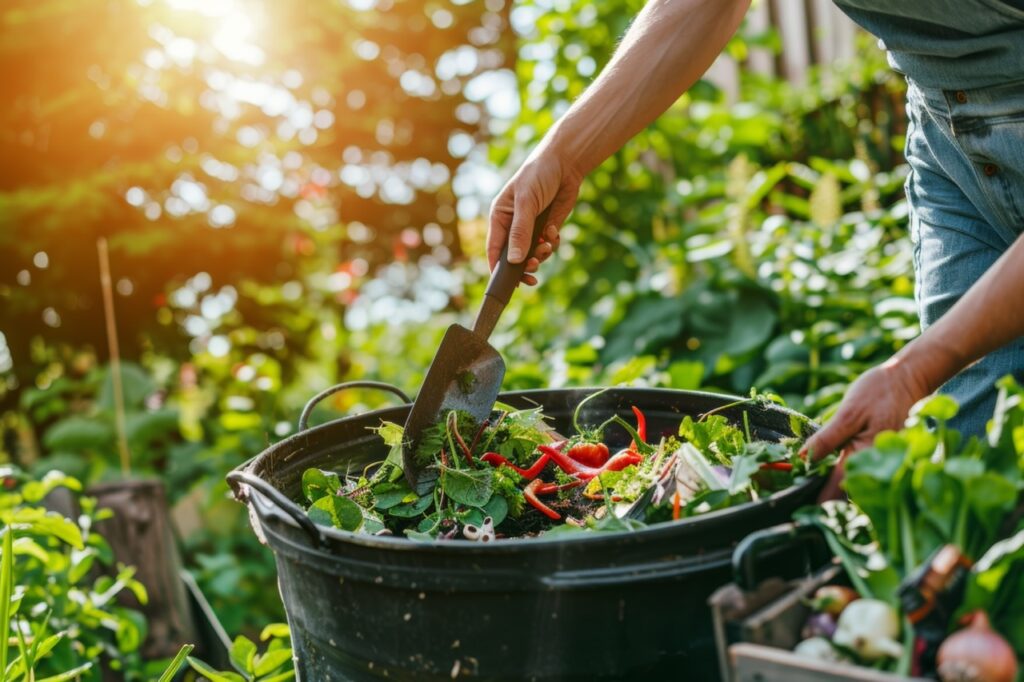
Creating a DIY compost bin is a simple, cost-effective way to start composting at home. With just a few materials, you can build a compost system tailored to your space—whether it’s a backyard, balcony, or small garden. Here are some easy DIY compost bin ideas to get you started.
1. DIY Plastic Bin Compost
A plastic storage bin is a great option for small spaces and beginners. It’s easy to make, portable, and keeps compost contained.
Materials Needed:
- Large plastic bin with a lid (50–80 litres)
- Drill (for aeration holes)
- Small tray (optional, for drainage)
Instructions:
- Drill Holes: Drill small holes (about ¼ inch) along the sides, bottom, and lid for ventilation and drainage.
- Add Bedding: Start with a layer of browns (shredded cardboard or paper) at the bottom to absorb moisture.
- Add Scraps: Add kitchen scraps and alternate layers of greens and browns.
- Maintain: Keep the bin slightly moist and turn every 1–2 weeks to aerate.
Best For: Balconies, patios, or small outdoor spaces.
2. Pallet Compost Bin
A pallet bin is perfect for a larger compost setup. It’s sturdy, spacious, and easy to build with free or recycled materials.
Materials Needed:
- 4 wooden pallets (for sides and back)
- Nails or zip ties (to secure pallets)
- Optional: Hinges and a latch (for a lid)
Instructions:
- Form a Box: Stand three pallets upright to form a “U” shape and secure with nails or zip ties.
- Add a Front Panel: Attach the fourth pallet as a front gate, leaving one side open for easy access.
- Add a Lid (Optional): Attach hinges and a pallet or wood board as a lid to keep pests out.
Best For: Larger outdoor spaces or gardens.
3. Wire Mesh Compost Bin
This simple, affordable bin can be built quickly with just wire mesh or hardware cloth, creating a breathable compost bin that’s ideal for fast decomposition.
Materials Needed:
- Wire mesh or hardware cloth (3-4 feet wide)
- Wire cutters
- Garden stakes (for support)
Instructions:
- Shape the Mesh: Cut the mesh to form a circle, about 3 feet in diameter.
- Secure the Ends: Use wire or zip ties to secure the ends, creating a circular bin.
- Stake It: Use garden stakes to anchor the bin in place to prevent it from tipping over.
Best For: Gardens with ample space, as this open design is best suited to larger areas.
4. Wooden Crate or Box Compost Bin
Repurpose old wooden crates or build a simple wooden box to create a rustic and effective compost bin.
Materials Needed:
- Wooden crates or wood planks (for sides)
- Nails and hammer or screws and drill
- Optional: Hinges and wood for a lid
Instructions:
- Assemble the Sides: Nail or screw the wood planks together to form a box shape.
- Ventilation: Leave small gaps between the slats or drill holes in the sides to allow airflow.
- Add a Lid (Optional): Attach hinges and a top plank for a lid to keep pests out.
Best For: Gardens and outdoor areas where a sturdy compost bin is needed.
5. Wire Bin with Layers for Vermicomposting
If you’re interested in composting with worms, you can make a simple vermicomposting bin using stacked plastic crates or tubs.
Materials Needed:
- 2–3 plastic tubs or crates (same size)
- Drill
- Worms (red wigglers)
Instructions:
- Prepare the Bottom Bin: Drill drainage holes in the bottom of each bin except the last one, which will catch liquid (worm tea).
- Add Bedding and Worms: Fill the first bin with bedding like shredded newspaper and add your composting worms.
- Stack the Bins: As the first bin fills up, add another on top, and the worms will migrate upward.
- Harvest Compost: Remove the bottom bin and use the finished compost in your garden.
Best For: Small spaces, kitchens, and worm composting enthusiasts.
6. DIY Bokashi Bin
A Bokashi bin ferments food waste, including meat and dairy, using beneficial microbes. It’s compact, making it ideal for indoor composting.
Materials Needed:
- 5-gallon bucket with a tight lid
- Drill (for a drainage hole)
- Tap or spigot (optional, for draining liquid)
- Bokashi bran (for fermentation)
Instructions:
- Install Drainage: Drill a drainage hole at the bottom of the bucket and install a spigot if desired.
- Layer Waste and Bran: Add food waste in layers, sprinkling Bokashi bran over each layer.
- Seal and Ferment: Once full, seal the bin and let it ferment for 1–2 weeks.
- Bury the Waste: After fermenting, bury the waste in the soil or add it to your compost for further breakdown.
Best For: Indoor spaces and composting enthusiasts who want to compost all types of food waste.
Creating a DIY compost bin is a great way to start composting on any budget and in any space. With a few materials and a little creativity, you can recycle your kitchen and garden waste into “black gold” for your plants. Happy composting! 🌿♻️